


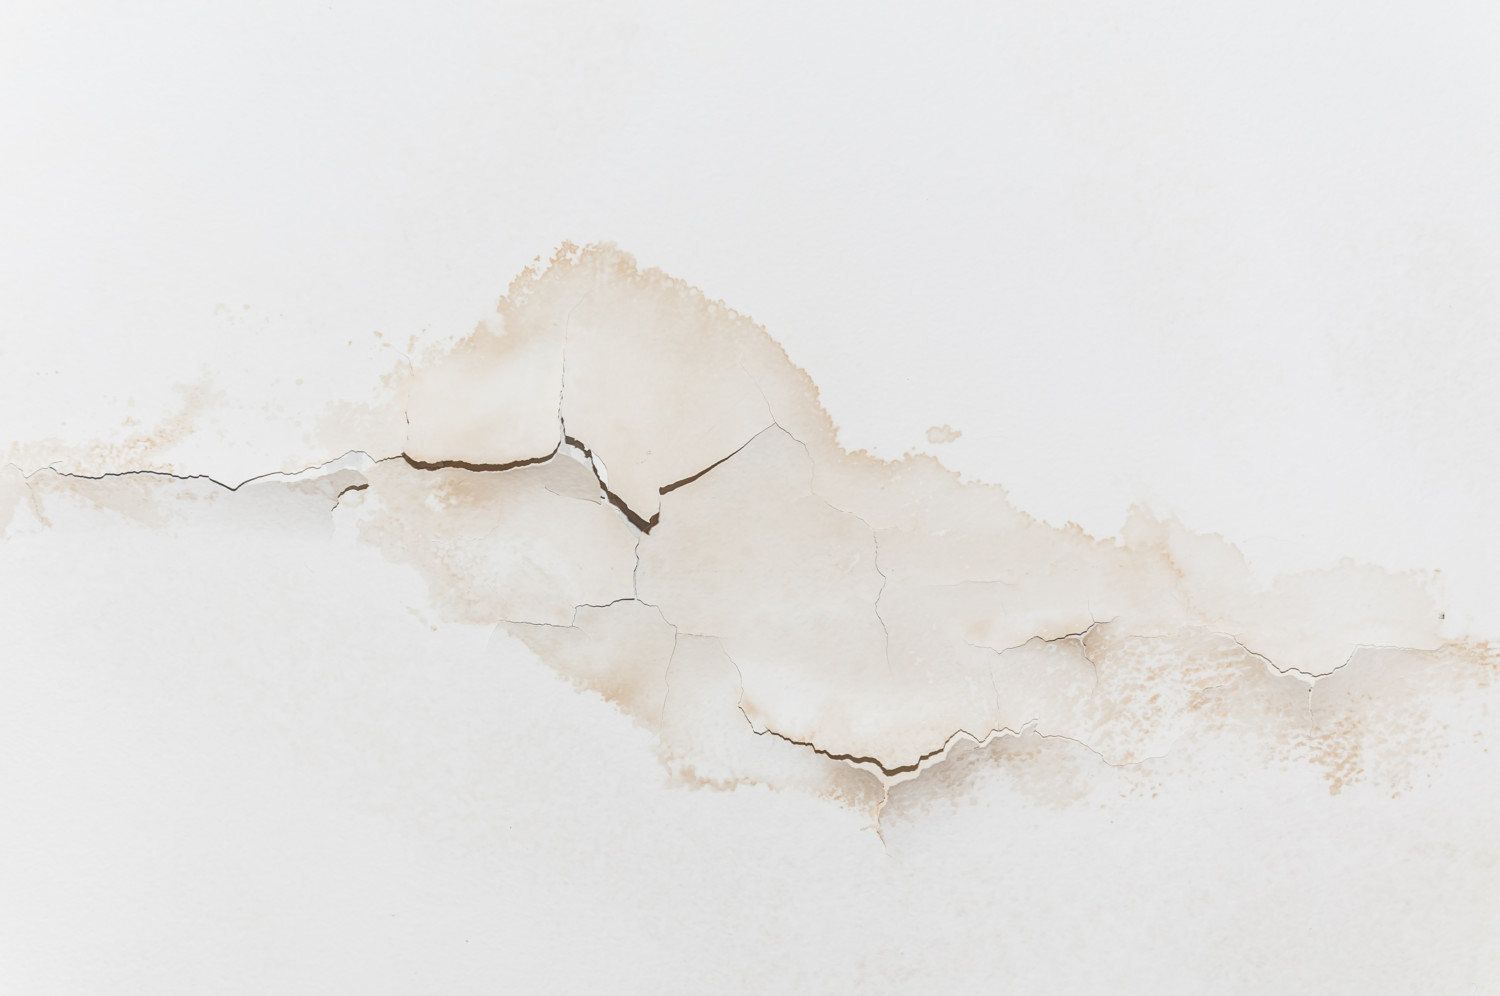
When water stains appear on your ceiling, you know it’s time to do some detective work. These stains are usually a side effect of a roof, heating appliance or plumbing leak that dripped through the ceiling and evaporated. Once the water dries, it leaves a residue of discolored mineral deposits.
While it can be tempting to cover the spot without addressing the root cause, doing so will almost always come back to haunt you. So resist the urge, even if it’s dry.
Play Detective with Water Stains
To pinpoint the cause of water stains, think back to any recent mishaps. If you live in a house and the stain occurred below the second-floor bathroom, a sink or toilet clog could have sent water overflowing and flooding the bathroom floor. The same goes for an overflowing bathtub. Or it could be that old caulking might need to be replaced, which is letting moisture seep into the cracks.
The problem may stem from the roof, where compromised flashing, loose seals around roof vents or missing shingles allow water to seep in during a storm. Patching the leak or repairing the damaged section might be in order.
Leaky radiators are another possible culprit. Drips may come from radiator bodies, valves, pipes or bleed points, which is where cold water escapes.
If you feel iffy investigating these places yourself, you might want to hire a handyman to help you find out how the water stain occurred. Then you might want to hire a plumber, HVAC professional or a roofer to repair the problem. Once that step is completed, it’s time to get your ceiling to stop looking so unsightly!
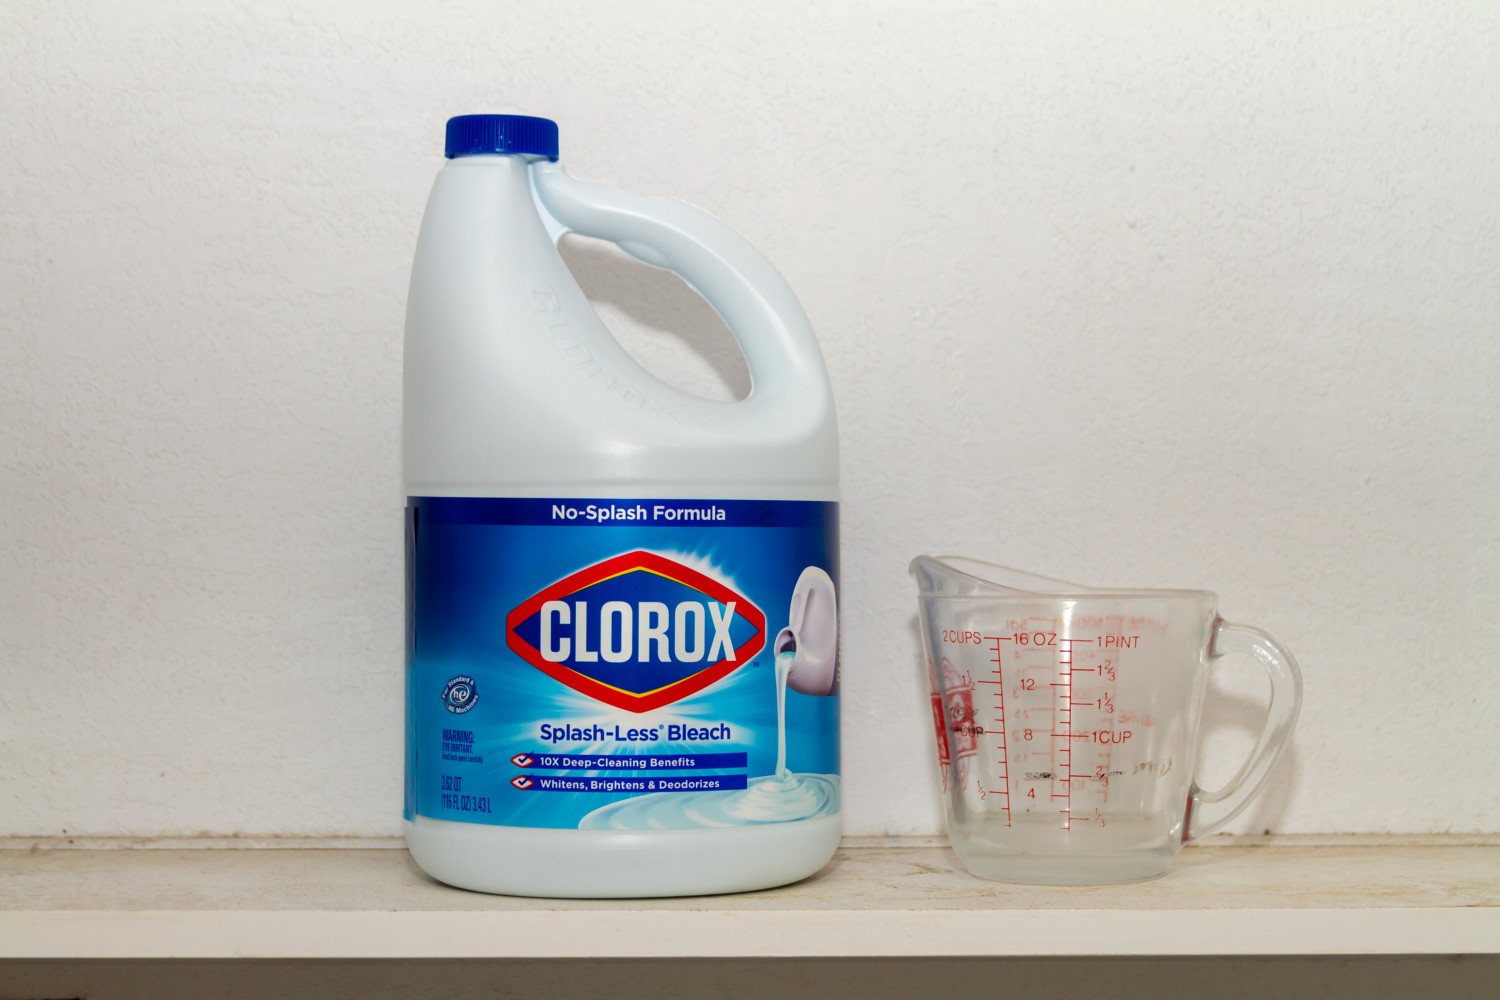
Bring On The Bleach
Prep the room by laying drop cloths down over anything remotely below the spot — this includes furniture, rugs and decor.
Prepare a mild bleach solvent with one cup of bleach and three cups of warm water. This will not only fade the stain but will also diminish any mildew, grease, dust or dirt that can stop the primer and paint from adhering to the ceiling. Get on a ladder and spray the area with the bleach mixture. Let it sit for at least a minute. Then spray it again and let it sit for 24 hours.
Hopefully, the stain will soon start to diminish. You can repeat the process until the stain is either completely removed or to a barely-noticeable point.
Re-caulk And Repaint Water Stains If Necessary
Once your ceiling has dried again, you can repaint it — either just the section in need or the whole ceiling. If there are cracks or structural damage caused by the moisture, though, you may have to replace the drywall or re-caulk that section first.
To prep for painting, cover ceiling trim with painter’s tape and then apply a base coat of stain-blocking primer from your local hardware store. This is another step that may be tempting to skip, but it’s necessary.
If you skip the primer and simply paint with interior latex paint, the minimal stains can resurface because latex paint is water-soluble. When a water stain comes into contact with latex paint, the stain dissolves into the wet paint layer, leaving discolored mineral contents in its wake. Stain-blocking primers are oil-based and mold resistant, which are water-insoluble, so the stain won’t seep through.
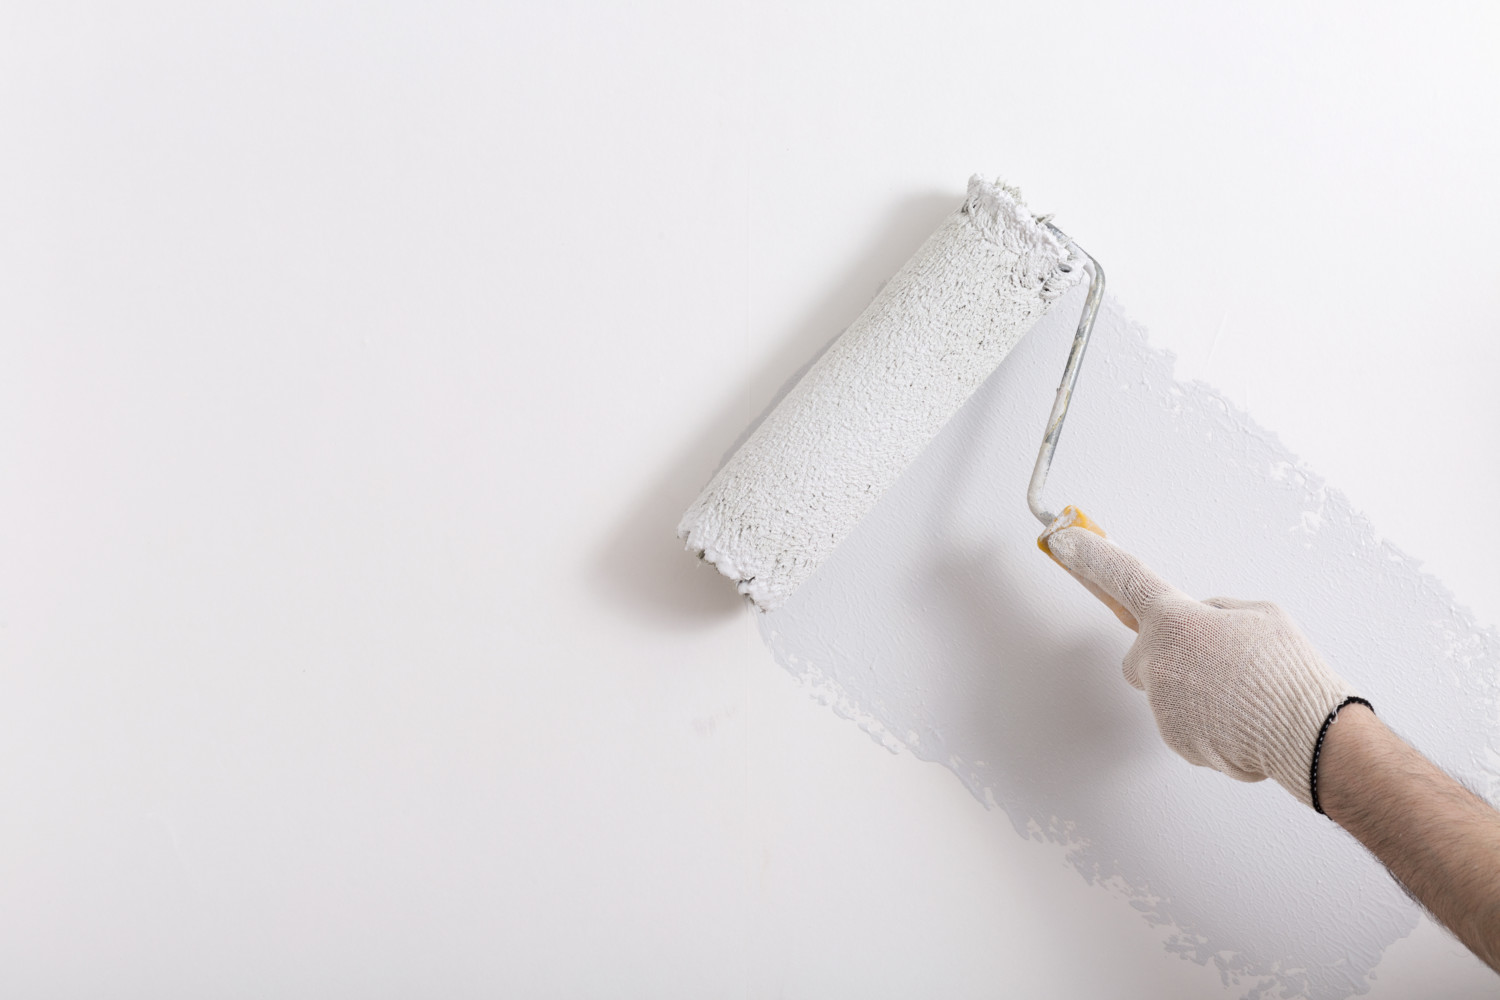
Since primer is typically a few shades different than your ceiling color, you’ll likely need to paint over the primer with your preferred ceiling color for a cohesive look. Use a roller to paint over the specific section or take this time to refresh your entire ceiling.
Let it dry and give it one more coat for more even coverage. After it dries, it should look as though the water stain never happened.
This story originally appeared on Simplemost. Checkout Simplemost for additional stories.
